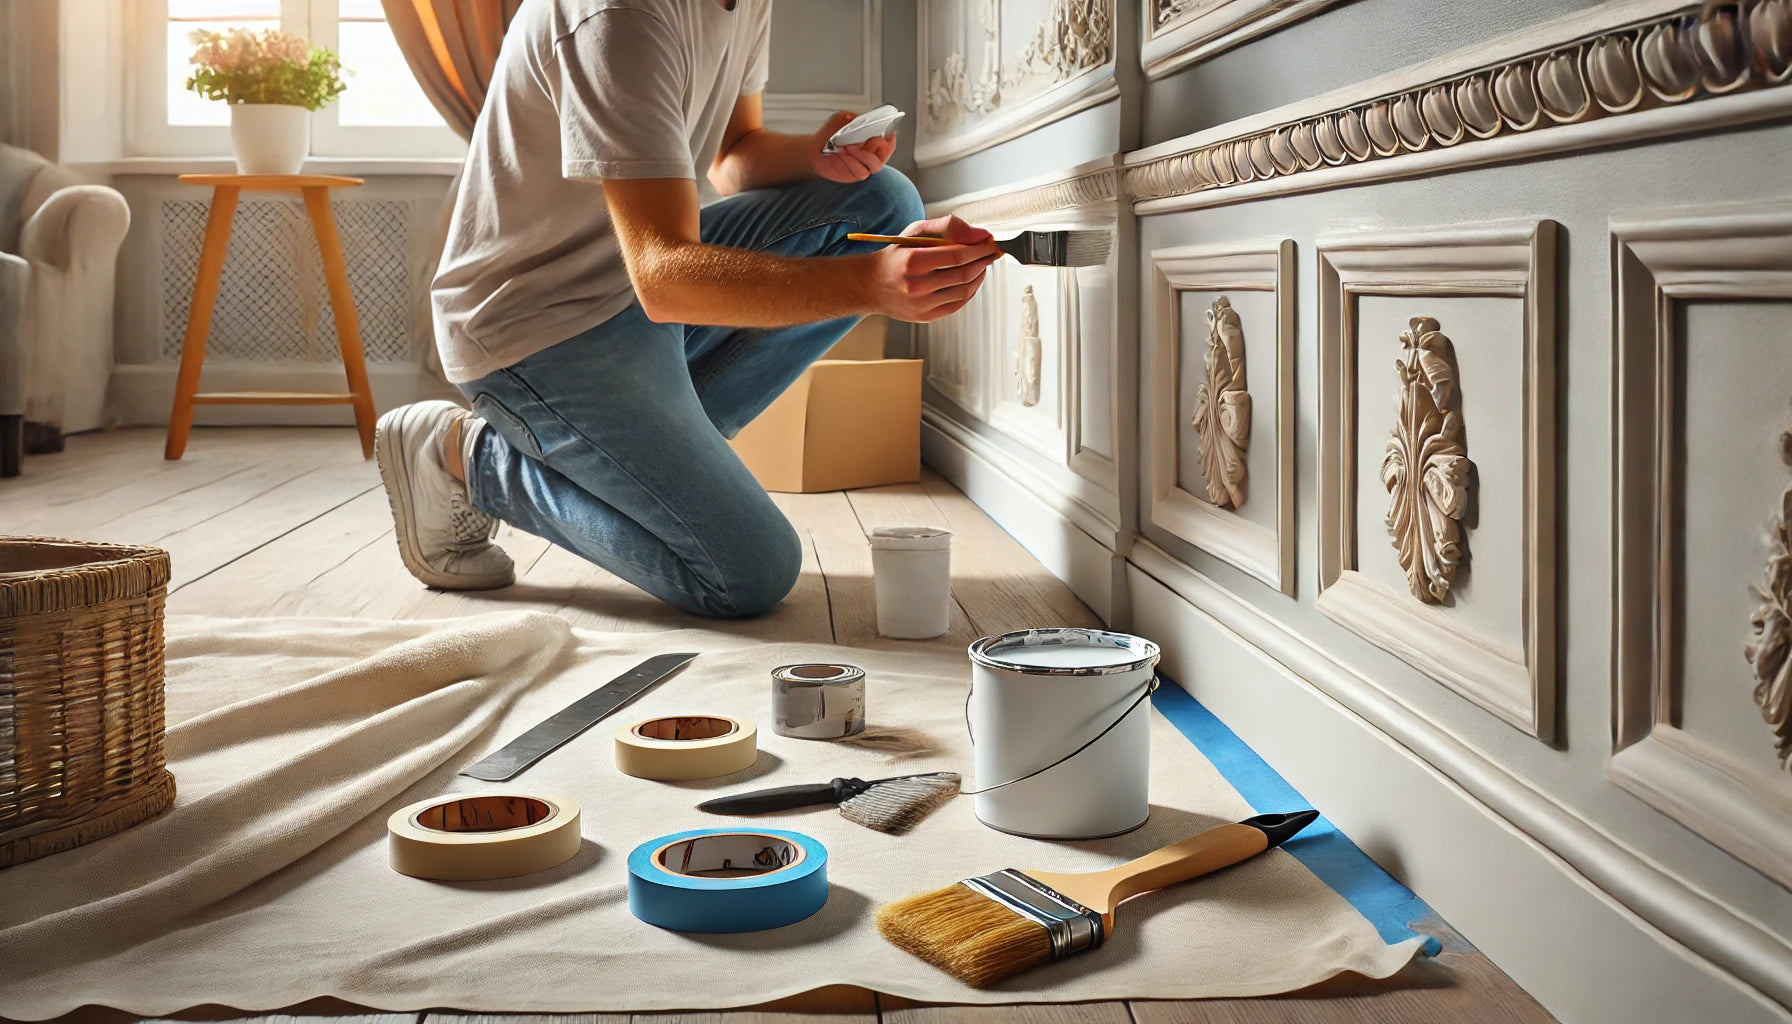
Painting trim adds that final touch, transforming any room. This guide shows you how to paint molding and trim, even if you’re a beginner. We'll cover everything from picking the right paint and tools to tackling tricky corners. We’ll also discuss common painting mistakes and how to avoid them, whether you’re using interior paint or exterior paint.
Along the way, we’ll share tips to make the process smoother, including how to handle paint efficiently to minimize waste and mess. Ready to give your home the perfect finishing touch? Let’s get started.
Table Of Contents:
- Prepping Your Trim: The Foundation for Success
- Choosing the Right Paint and Tools
- Painting Like a Pro
- Clean Up: Before You Admire
- Conclusion
Prepping Your Trim: The Foundation for Success
Proper prep work is key for a flawless finish. It’s the base for a smooth, professional look. This is where your painted trim journey begins.
Cleaning: A Fresh Start
Clean your trim thoroughly with a damp rag, using soapy water for greasy areas like kitchen molding. Cleaning not only removes dust and debris but also ensures the paint adheres properly. Drop cloths can help protect your floors during the project.
Repairing: Smooth as Silk
Fix any imperfections, such as nail holes, with wood filler. Let the filler dry completely before sanding to create a seamless surface.
Sanding: Key for Adhesion
For repainting peeling trim, start with coarser sandpaper (around 80-grit) and work up to a finer 120-grit. Sanding smooths the surface, allowing the paint to adhere better and last longer.
Caulking: The Finishing Touch
Fill gaps between the wall and trim with caulk for a polished look. This step helps create clean lines and makes painting easier by reducing the need for intricate brushwork.
Choosing the Right Paint and Tools
The right tools make any painting project easier, especially when working with detailed areas like molding and trim.
Paint Type: The Pro's Choice
Waterborne alkyd paints provide durability and a smooth finish. Opt for gloss or semi-gloss finishes, which are easier to clean and highlight the trim's design.
Primer: To Prime or Not to Prime
A primer is essential if you’re painting over dark stains or raw wood. Choose an oil-based primer for heavy stains or a water-based primer for lighter surfaces.
Brushes and Paint Handling Tools
A quality angled brush (2 to 2.5 inches) is ideal for trim, as it offers control and minimizes visible strokes. For convenience, consider dispensing paint into a small container for easier access. Tools like The Paint Syringe are great for transferring paint without the mess of pouring, helping you keep your workspace tidy and organized.
Painting Like a Pro
Once your prep work is done, it’s time to paint. Use these techniques to achieve a smooth, professional-looking finish.
Technique: Long and Smooth
Dip your brush lightly into the paint container, tapping off any excess. Apply long, even strokes, starting at one end and moving to the other. Working with a small container of paint helps you stay mobile and reduces the chance of spills from handling a full can.
Taping: A Necessary Evil
Use painter’s tape to protect walls and edges. Press the tape edges firmly with a putty knife to prevent paint bleed.
Coats: Two is Often Best
Applying two coats of paint ensures full coverage and an even color. Let the first coat dry completely before adding the second.
Clean Up: Before You Admire
When the paint is dry but slightly tacky, remove the painter’s tape to avoid peeling. Wash your brushes thoroughly to keep them in good condition for future projects.
If you used tools to dispense paint, like The Paint Syringe, cleanup is straightforward. Its simple design makes it easy to rinse and store, so you’re ready for your next project.
Conclusion
Painting molding and trim doesn’t have to be intimidating. By preparing properly, choosing the right tools, and using techniques tailored to trim painting, you can achieve professional-looking results. Small touches, like transferring paint into manageable containers, can make a big difference in your efficiency and comfort while working.
Now that you’re equipped with these tips, you’re ready to tackle your next DIY painting project with confidence.

Share:
How to Prep a Wall for Painting: A Comprehensive Guide for DIYers
How to Clean a Painted Wall: Simple Steps for Success